Proxmox
Virtualized environments are useful for dividing out hardware resources appropriately. Depending on available hardware, certain virtual environments and releases are more suitable. For this guide, Proxmox 8.4 is used. As mentioned before, Proxmox 9.0 is available but our experience has shown it may have stability issues depending on your hardware.
Staging vs Production
The infrastructure typically includes 4 environments: Main, Develop, Staging, and Production.
- Develop - Development on Upper Management Controls and Databases
- Main - Production Management Controls and Databases
- Production - Production Environment
- Staging - Staging Environment
Managerment Layer
This layer is really about what we want to store/reject as well as all the applications needed to network, retrieve data, control, and graphically view data.
Application Layer
This groups the Staging and Production environments where we have application that connect to exchanges, retrieve and store data, or manipulate/calculate data.
Proxmox Installation
Follow the Proxmox installation manual to set up according to your requirements. Configure a reserved IP address on your router to ensure the server maintains a static address and avoid DHCP conflicts.
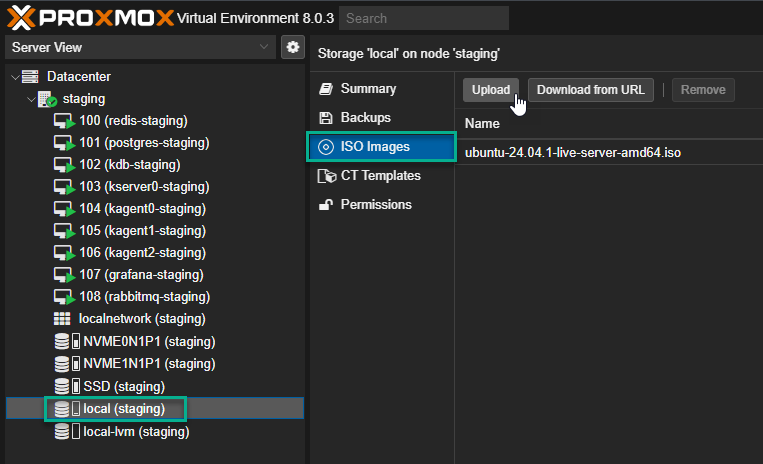
ISO Images
Use recent long-term support distributions for stability. Ubuntu 24.04 LTS can be downloaded and loaded into Proxmox for installation.
LXC Containers
In general, most services can run via LXC Containers with minimal configurations. Kubernetes can also be configured as an LXC container but is not recommended for production environments. It is up to the user what they want to choose but our experience has shown LXC containers are fine as long as they are configured properly.
K3S Template
When creating an LXC Container for Kubernetes, we recommend you create a template. It should have the following:
- Unprivileged container unchecked
- Roughly 16GB of RAM or more
- Swap set to 0
- 8 cores or more
- 64 GB of disk space minimum
You must configure the LXC manually by going into proxmox shell and navigating to:
/etc/pve/lxc/<LXC ID>.conf
Add the following lines:
lxc.apparmor.profile: unconfined
lxc.cgroup.devices.allow: a
lxc.cap.drop:
lxc.mount.auto: "proc:rw sys:rw"
Make sure swap: 0