GitHub
Repo Creation
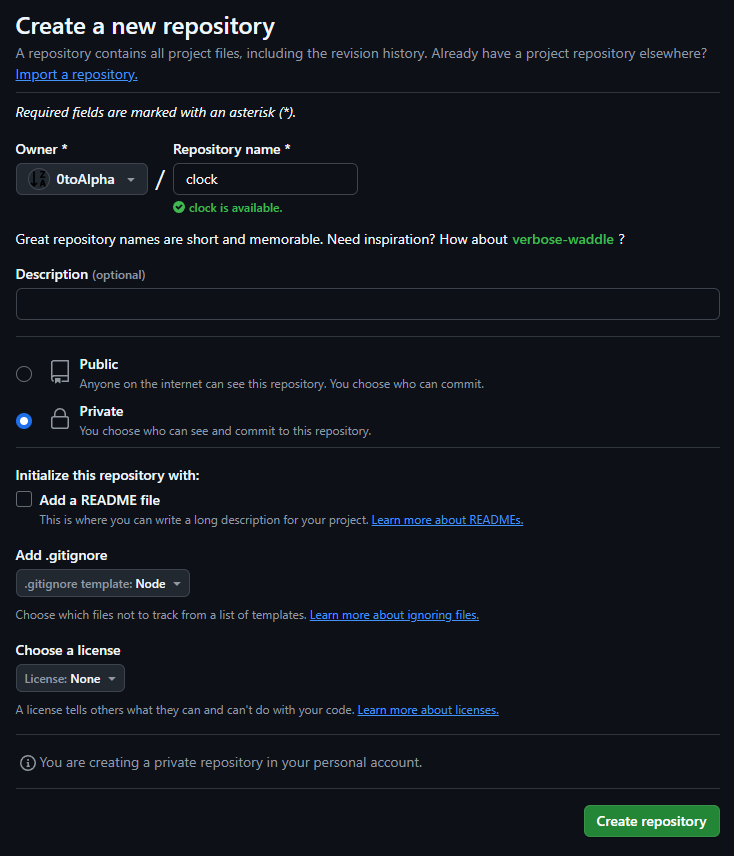
Begin the development cycle by creating a GitHub repository. For this example, create a repository named "clock" as a private repository with a Node.js .gitignore template since TypeScript will be used.
Slack Subsciption
Open slack and add a channel called clock Run the command:
/github subscribe gitusername/clock
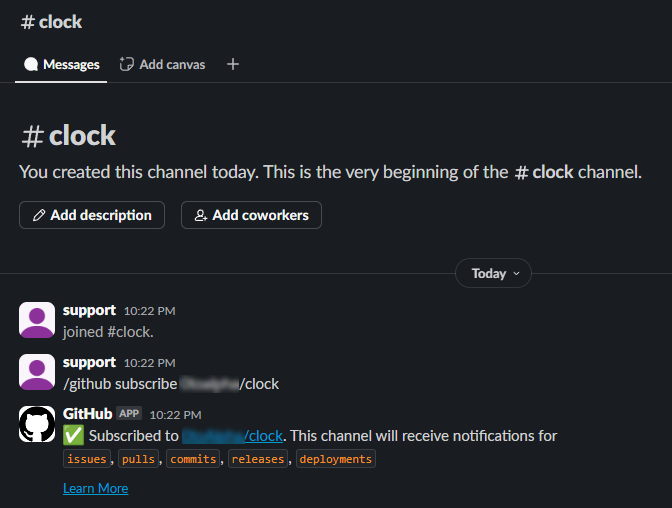
By doing this you will get notifications on slack when git changes are made.
Cloning Repo Locally
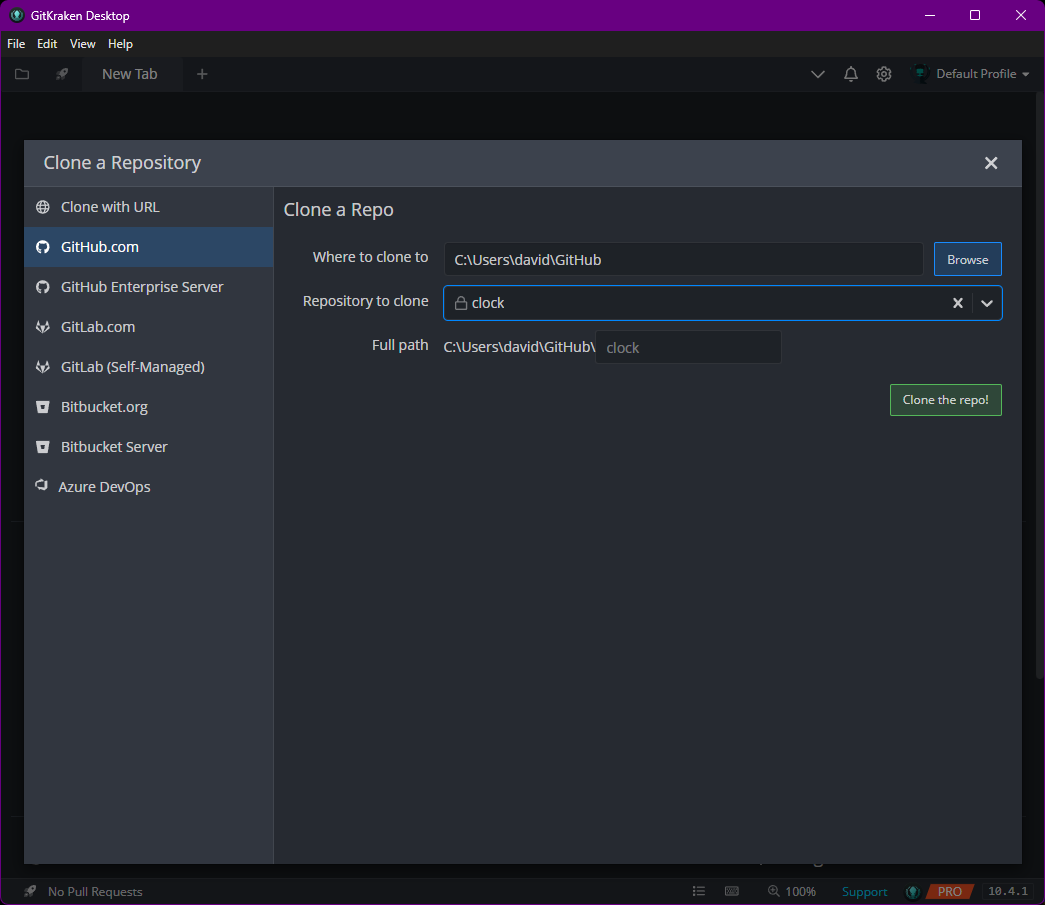
Clone the repository locally using your preferred Git client. Options include command-line git, GitKraken, or other Git interfaces. See the GitKraken documentation and GitHub Git client instructions for setup guidance.
Create Branches
Git workflows typically include a "develop" branch in addition to the main branch. All features should branch from develop into feature branches. Create a develop branch from main.
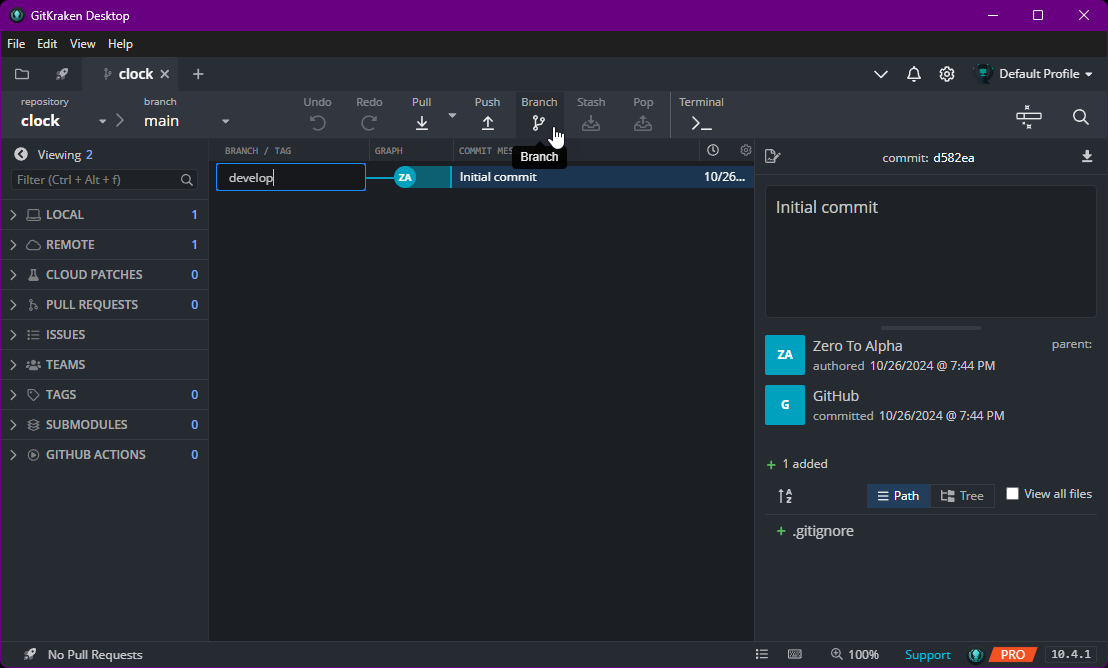
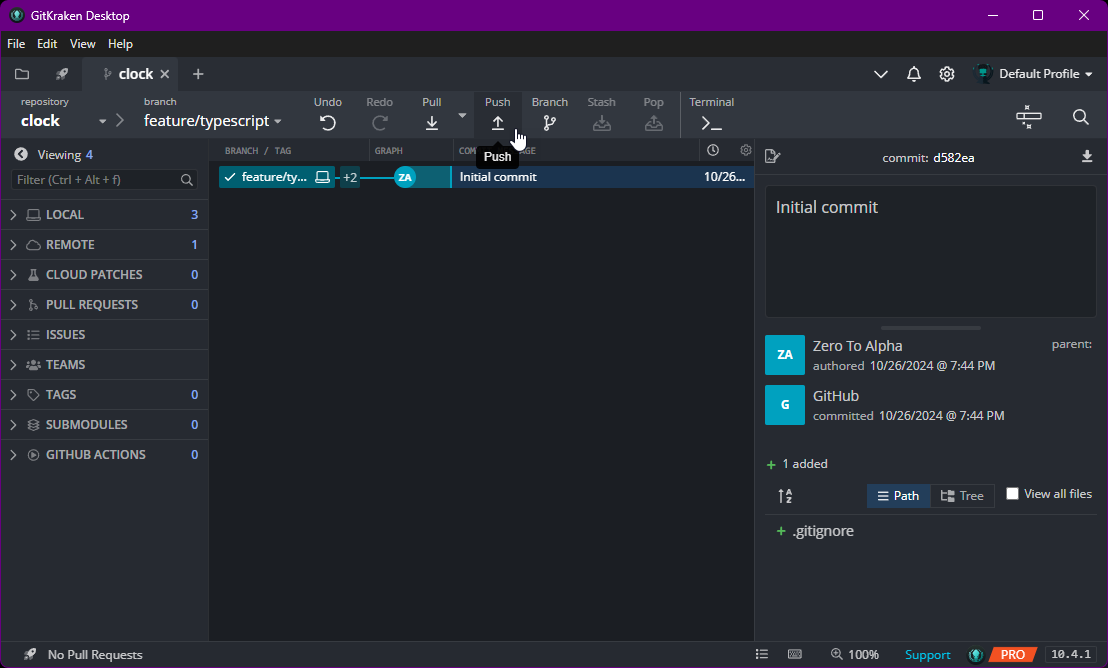
The develop branch initially exists only locally and must be pushed to GitHub. After pushing develop, create a feature branch from develop named "feature/typescript" and push it.
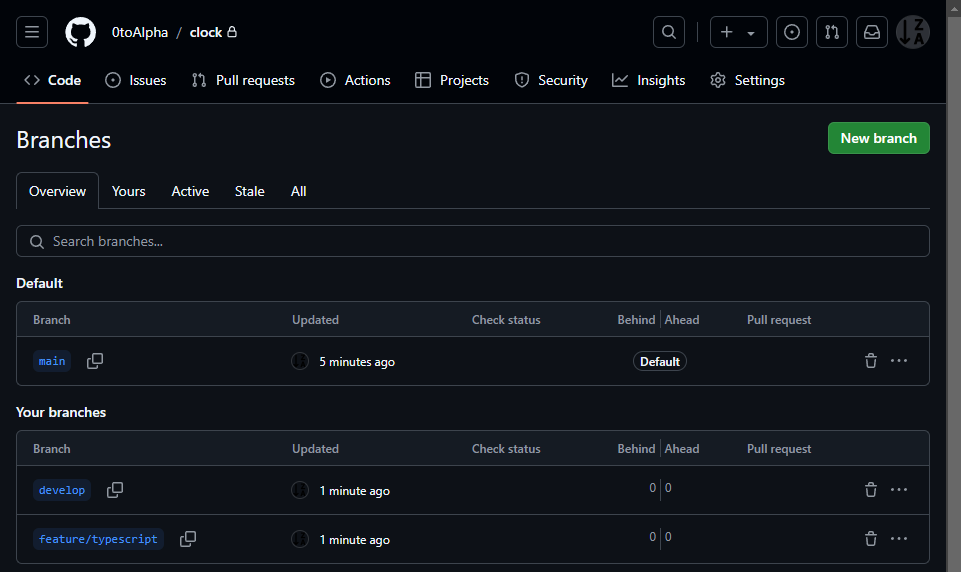
Back on GitHub, we can see our branch creations.
Initializing TypeScript
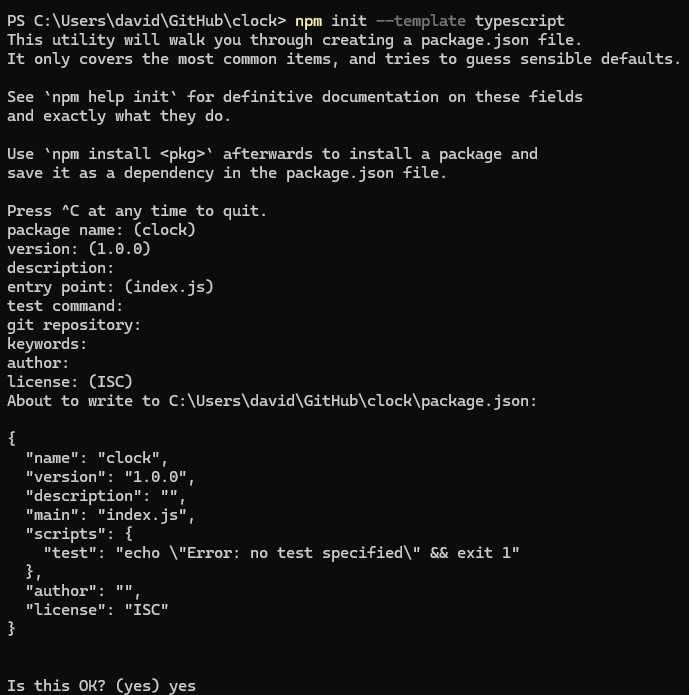
Init TypeScript in the repository folder by running:
npm init --template typescript
You can answer the questions or just click enter until you type yes.
Common packages to install when using TypeScript include ts-node and nodemon, which enable running TypeScript directly and automatic reload on code changes:
npm install -D ts-node nodemon
Modify package.json with these scripts:
 "scripts": {
    "test": "echo \"Error: no test specified\" && exit 1",
    "start": "ts-node ./src/index.ts",
    "dev": "nodemon ./src/index.ts",
    "build": "tsc",
    "lint": "tslint -c tslint.json src/**/*.ts",
    "prepublish": "npm run build"
  },
Jest is commonly used for testing and ESLint for code linting. Install and configure them by running:
npm install -D jest
Update the package.json scripts configuration (remove the prepublish script as it can cause issues):
  "scripts": {
    "test": "jest",
    "start": "ts-node ./src/index.ts",
    "dev": "nodemon ./src/index.ts",
    "build": "tsc",
    "lint": "tslint -c tslint.json src/**/*.ts"
  },
TypeScript compiler options should be configured appropriately. Example tsconfig.json configuration:
{
	"compilerOptions": {
		"target": "es5",
		"module": "commonjs",
		"moduleResolution": "node",
		"lib": [
			"es2015",
			"DOM"
		],

		"esModuleInterop": true,
    ...
  }
}
These modules will help us console out information as use interop.
Logging
To ensure issues are logged centrally, install and configure logging packages. This example uses environment variables and logging services:
npm install dotenv winston @axiomhq/winston
These two packages will allow for environment variable consumption as well as logging. In ./src/index.ts, initialize environment variables by the following code:
require('dotenv').config();
Environment variables are stored in a .env file in the root directory:
MESSAGE=Hello World
To use environment variables in code, initialize and log the message:
const {
  MESSAGE
} = process.env;

console.log(MESSAGE)
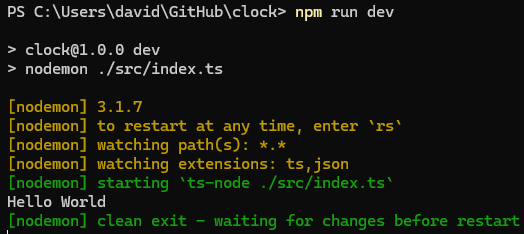
Execute the code using:
npm run dev
To implement centralized logging with services like Axiom, create a logger module and configure it:
// eslint-disable-next-line @typescript-eslint/no-var-requires
import { createLogger, format, transports } from 'winston';
const { combine, timestamp, printf } = format;
import { WinstonTransport } from '@axiomhq/winston';

const {
  AXIOM_DATASET,
  AXIOM_TOKEN,
  AXIOM_ORG_ID
} = process.env;

// tslint:disable-next-line:no-shadowed-variable
const myFormat = printf(({ level, message, timestamp }: any) => {
  return `${timestamp} ${level}: ${message}`;
});

const configuredTransports: any = [
  new transports.Console({
    level: 'debug'
  }),
];

if (AXIOM_TOKEN !== undefined) {
  configuredTransports.push(new WinstonTransport({
    token: AXIOM_TOKEN ? AXIOM_TOKEN.trim() : '',
    dataset: AXIOM_DATASET ? AXIOM_DATASET.trim() : '',
    orgId: AXIOM_ORG_ID ? AXIOM_ORG_ID.trim() : ''
  }));
}

const logger = createLogger({
  format: combine(
    timestamp(),
    myFormat
  ),
  defaultMeta: {
    service: `clock`
  },
  transports: configuredTransports
});

export default logger;
Update the .env file with required parameters:
- AXIOM_DATASET
- AXIOM_TOKEN
- AXIOM_ORG_ID
The Axiom organization ID can be found in account settings.

Update the application code to utilize the logger:
require('dotenv').config();

import logger from './logger'

const {
  MESSAGE
} = process.env;

logger.info(MESSAGE);
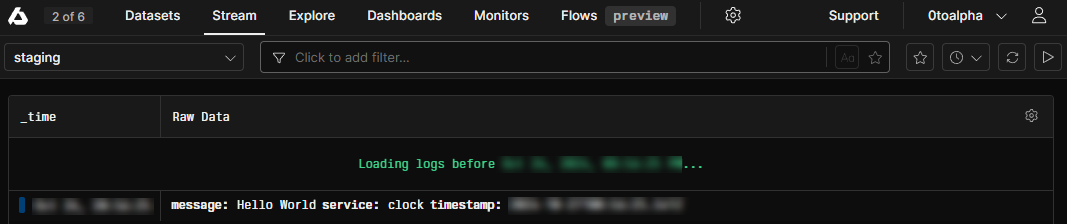
The message logs to both console and the logging service. This approach enables centralized log aggregation.
For testing purposes, modify the code to repeatedly log messages at specified intervals to verify proper logging functionality:
require('dotenv').config();

import logger from './logger'

const {
  MESSAGE
} = process.env;

setInterval(() => {
  logger.info(`${MESSAGE}: ${new Date()}`)
}, 1000)
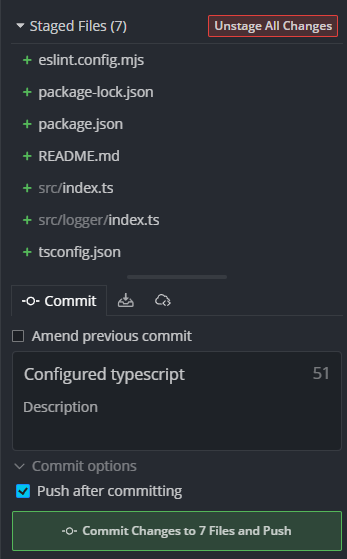
To commit the feature changes, stage all modified files for commit:
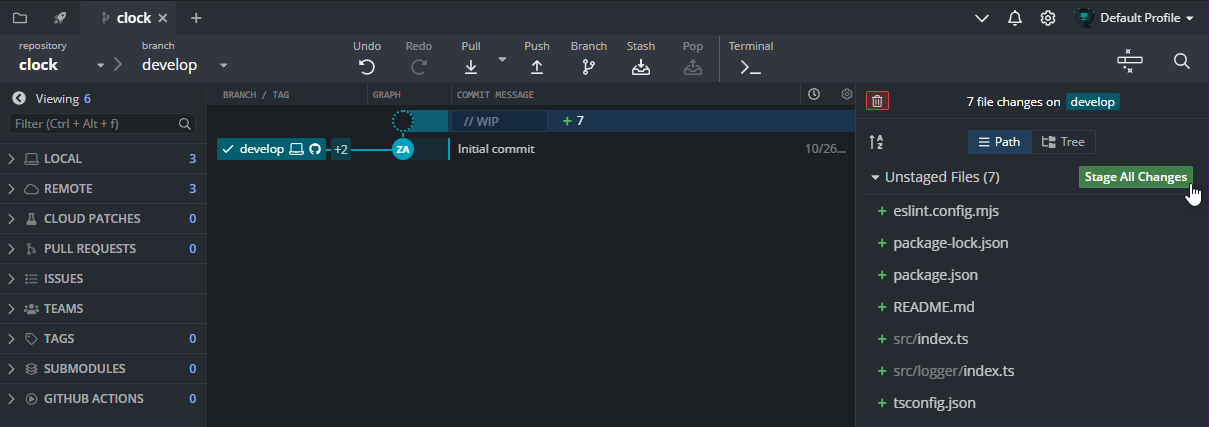
Use a meaningful commit message such as 'Configured typescript'. Configure commit options to automatically push changes to the repository after committing.
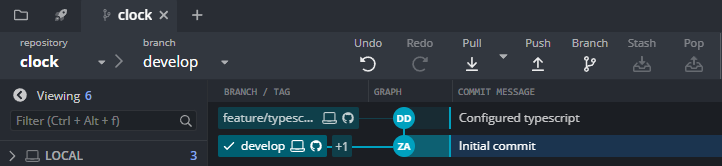
Notice a GitHub Icon on our commit now.
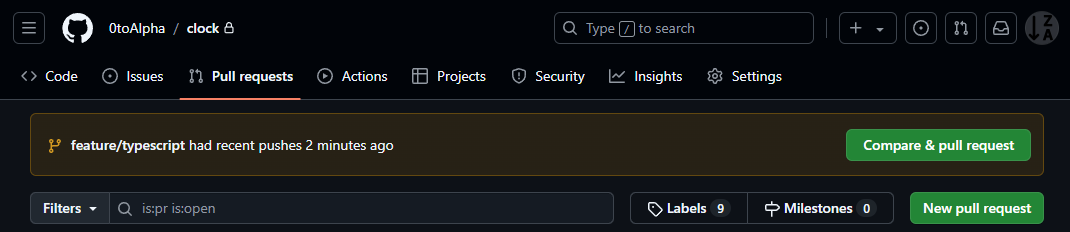
Now in a typical development company this is where we start to have people who check your code. You have pushed your changes for the feature to GitHub. Now someone has to check it. If you go to "Pull Request" on your repo, you will notice that changes have been pushed. Select 'Compare & pull request'.
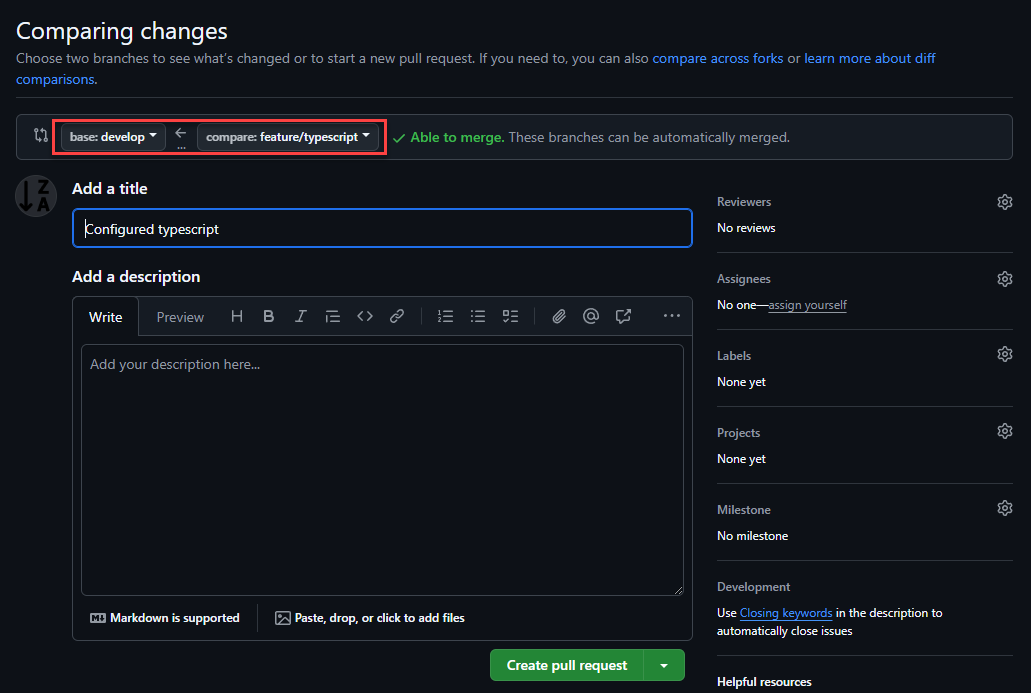
On the Pull Request, change the branch to 'develop'. In a typical environment, you would then assign someone to review your code. Since we don't have anyone, you can select 'assign yourself'. You should get an email notifying you that a pull request has been made and you should check it.
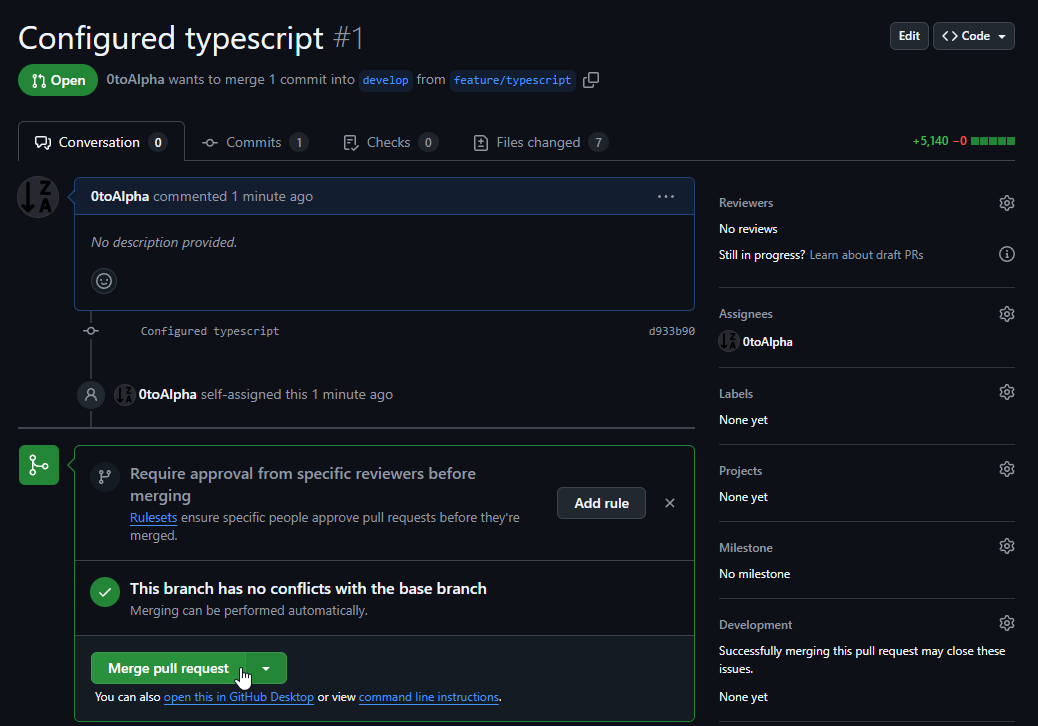
Once you are happy with the code, if you were the checker, you would then select 'Merge pull request' and 'Confirm Merge'.
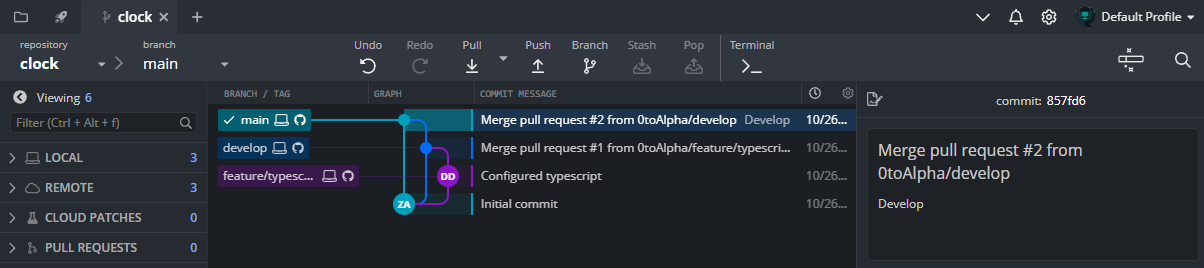
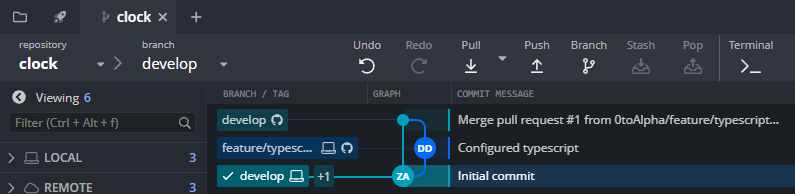
On GitKraken, after a few seconds, you will now notice that a merge has been done into develop.
Now if you were someone even higher up, you may elect to repeat the same steps but this time merge it into your main branch. In general, main branches are protected branches. You only want to push to your main branch once all checks have been done and you know for sure the code will work. Once complete, your GitKraken tree will look like this: